Introduction
As the season transitions from winter to spring in the high country, the mountain air becomes invigorating. From snowy days to the pleasant chirping of bluebirds, there’s an anticipation building up – the excitement of mountain biking. For those visiting Keystone, and anyone interested in exploring the thrilling world of mountain biking (MTB), this introduction will guide you through the sport and prepare you to hit the trails on some of Kestone’s finest singletrack.
Speak the Language of MTB
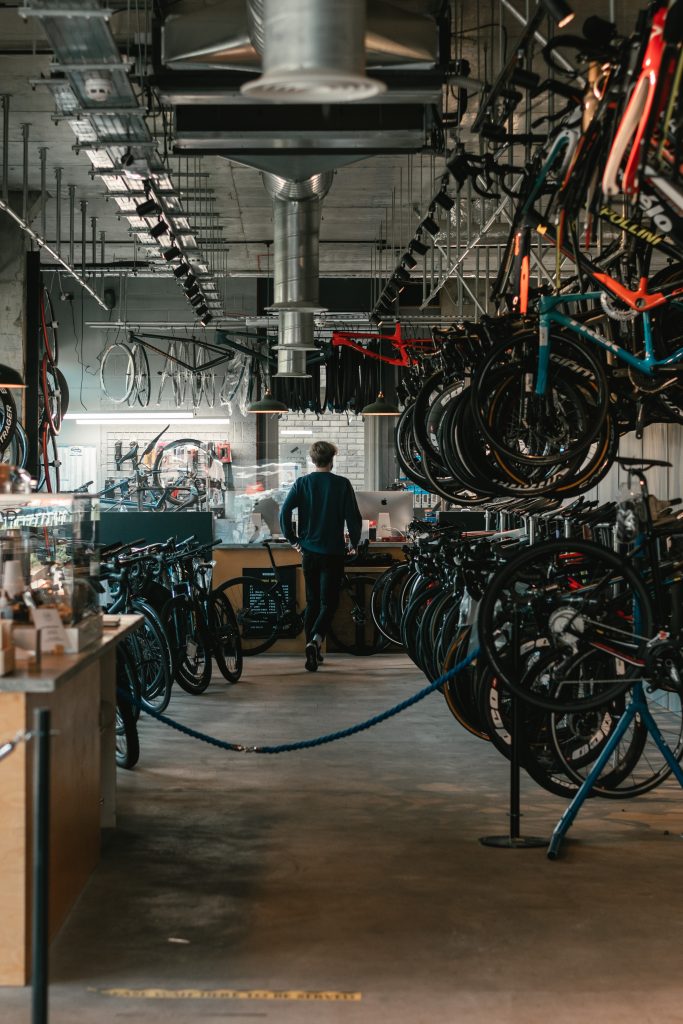
First and foremost, let’s address the initial challenges for beginners entering the mountain biking community. When I started mountain biking at the age of 36, I found the language and technical jargon overwhelming. Conversations with bike shop employees or experienced riders left me feeling like a novice. But don’t be discouraged! With time and experience, you’ll grow more familiar with the MTB terms and concepts.
“Squish” & “Travel”
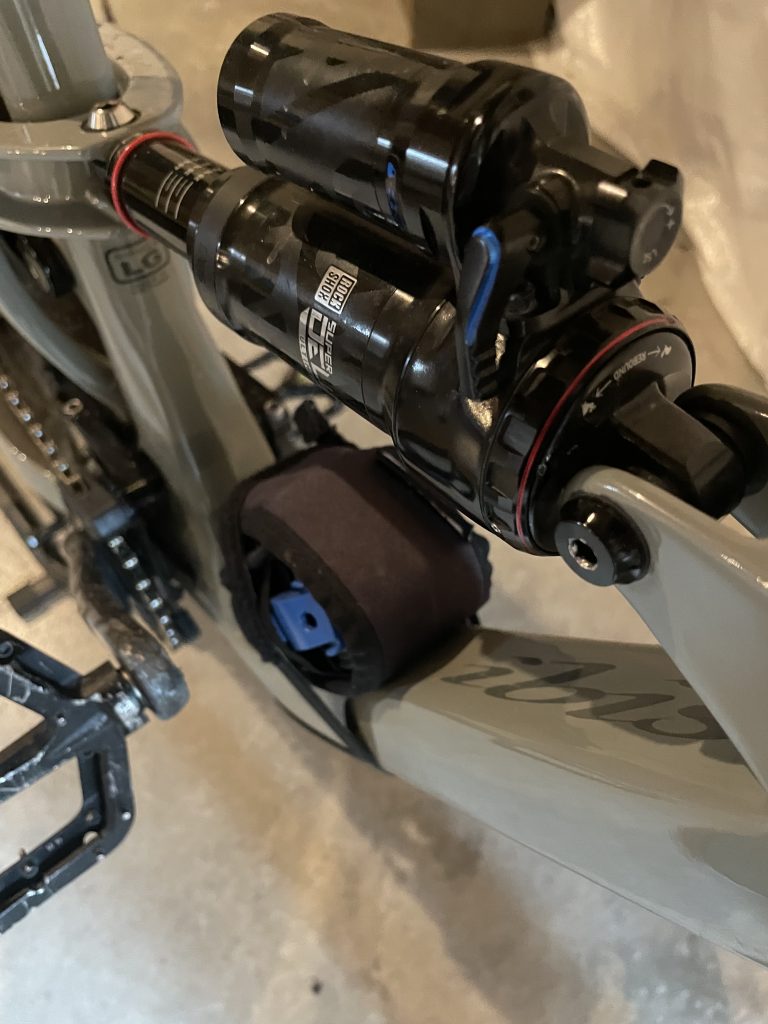
Suspension, or “squish,” is a pivotal aspect of modern mountain bikes. It refers to the shocks that absorb impacts and create a smoother ride. MTBs fall into two categories based on their suspension:
- Full Suspension: These bikes have both front fork and rear suspension, providing a more comfortable and forgiving ride on challenging terrains.
- Hardtail: These bikes have only front suspension, offering a balance between efficiency and comfort for less aggressive trails.
Hardtail vs Full-Suspension
I know a lot of old-school riders swear by hardtails in the name of learning how to “properly” ride and avoid the “bad habits” that come from the forgiveness and ease of a full suspension rig. I’ll go on record that I am not one of them. In my estimation the goal when you first start riding is to have fun, and be safe. Full suspension is just more fun, and more safe (especially when learning). Some of those beginner mistakes that we all make when learning are not quite as disastrous with a full-squish bike. I say, let’s make it more fun and easier to learn; you can work out any kinks as you develop.
One final piece on suspension. We could do an entire article just on suspension tech but to make it simple. The longer the “travel” the more big and burly the riding. Travel essentially refers to the size and length of the shock. The longer the travel the more it can absorb. You’ll sacrifice pedaling efficiency with longer travel, but you’ll be able to handle more drops, bumps, and hucks. Flying down dercum mountain, pedaling isn’t really important, absorbing big gravity-induced bumps is…pedaling long distances, you want efficient short-travel suspension, with a little absorption to take the edge off. I’ll explain more when we go into the disciplines of riding. Just google “hard-tail vs suspension” and you’ll get a boat load of info online.
Enduro/Trail, Cross-Country, or Downhill
Although some may argue various nuances between each of the following “disciplines” of mountain biking, for the most part, these categories explain a type of riding. Additionally, you’ll notice these disciplines used as adjectives to describe types of bikes as well.
1. Downhill
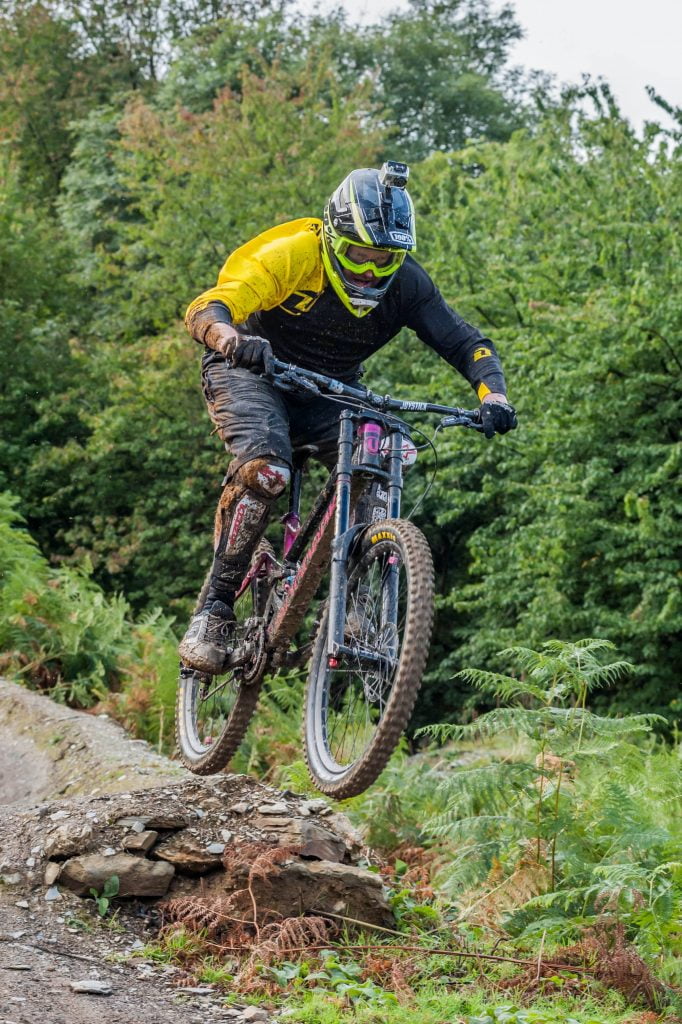
Downhill and lift-serviced rides are exactly what they sound like. It’s the real-deal; riding a ski lift to the top of the mountain and (hopefully) making it down. Great downhill access can be found in the heart of the summer at the big Ski Resorts, in Summit County, in this case, Keystone is no excption. There are of course trail ratings just as in skiing/snowboarding on the mountain, for easy, medium, and difficult/expert. Bottom line, if you haven’t been on a bike for a while, I wouldn’t start here. Personally, I am of the opinion that downhill is for experienced riders. I would dip a toe in some trail or cross-country riding before attempting to tackle downhill. But, if you’re so inclined you need a Downhill bike. This means big, long-travel, full suspension rigs built to withstand the extreme wear-and-tear of downhill riding. Protective equipment, downhill-certified helmets, the whole shebang. If you would like to give this a go I recommend you go to the Keystone Resorts website come summer. They will give you the details you need to plan your trip.
2. Enduro/Trail
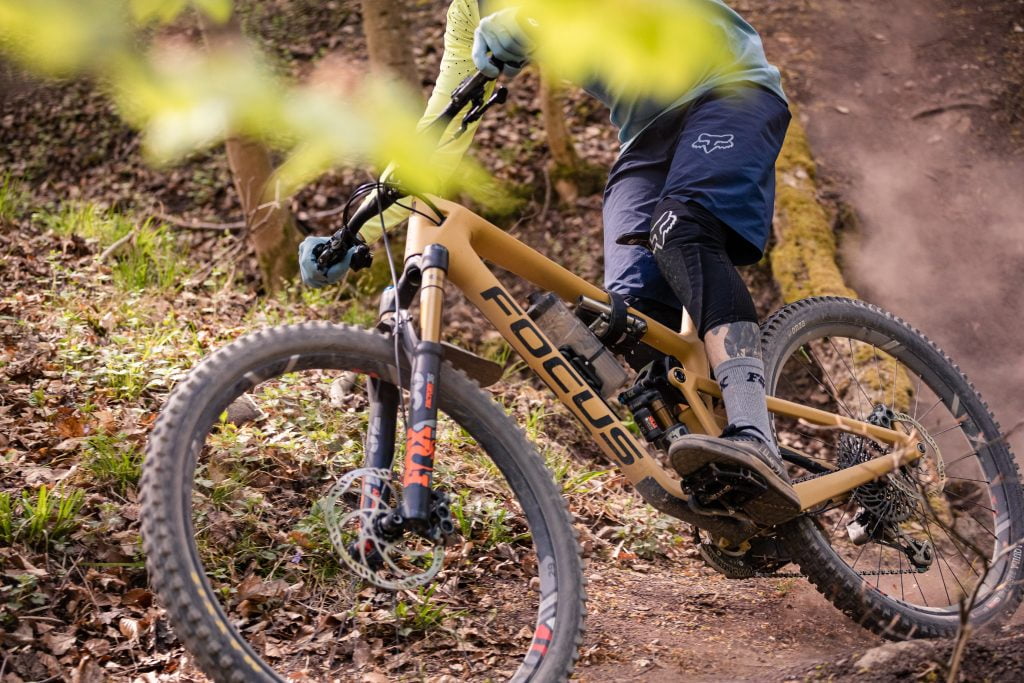
Enduro and Trail are different ends of the spectrum, but within the same category. To me, this category represents the perfect mix of mountain-biking. While an Enduro bike’s suspension tend to be closer to the downhill-side of travel, most of these bikes are still efficient enough to pedal comfortably on the trails, yet capably hit solid sized jumps and bumps. Trail bikes, tends to have a little shorter-travel than enduro bikes which thus endears these bikes to riders on the uphill side of things.
3. Cross Country
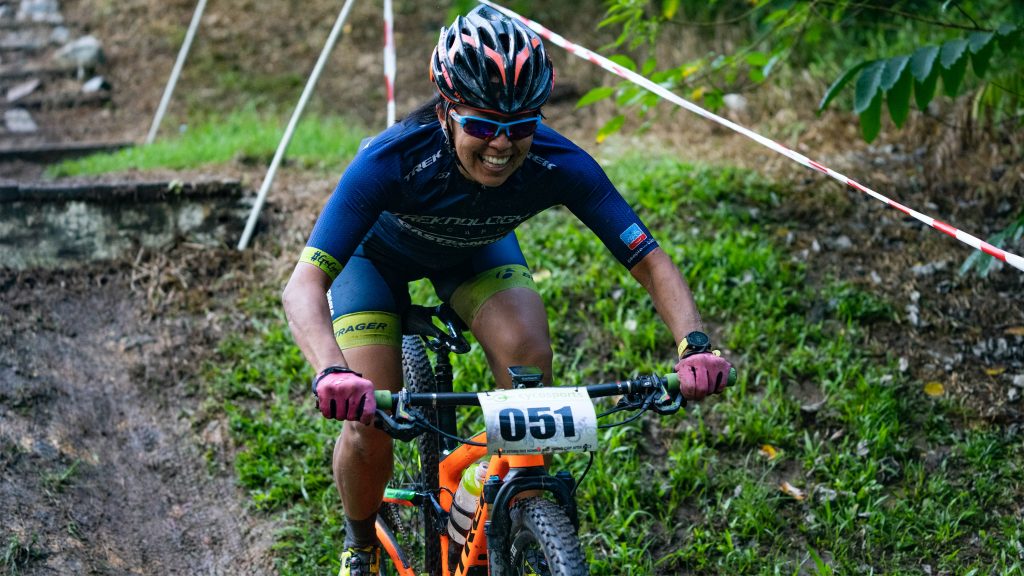
Last but not least is Cross-Country. If you ride cross-country, you have my respect. This type of riding tends to be long distance, on short-travel bikes, with some of the best conditioned riders I have ever met. Bottom line, if you want to go far, you’ll like cross-country. Like Downhill, cross-country tends to be a category that people build into as you need the basic endurance to make it happen. But, if the endurance side of the sport interests you, by all means XC is for you. For beginners, I tend to encourage Enduro/Trail as you can get a taste of both worlds and see what kind of terrain and experience you gravitate towards as your ride more. On the trail (aka singletrack) you’ll get some downhill, some flat, and some climbing. You can find some jumps if you’re looking, or some more mellower endurance rides. Try it all, and based on preference you should be able to move toward one end of the MTB spectrum if you prefer. Keystone in particular has a little bit of everything…long cross-country rides at Keystone’s elevation may be a little tougher than you might expect though.
The Important Ancillary Technology
Dropper Posts
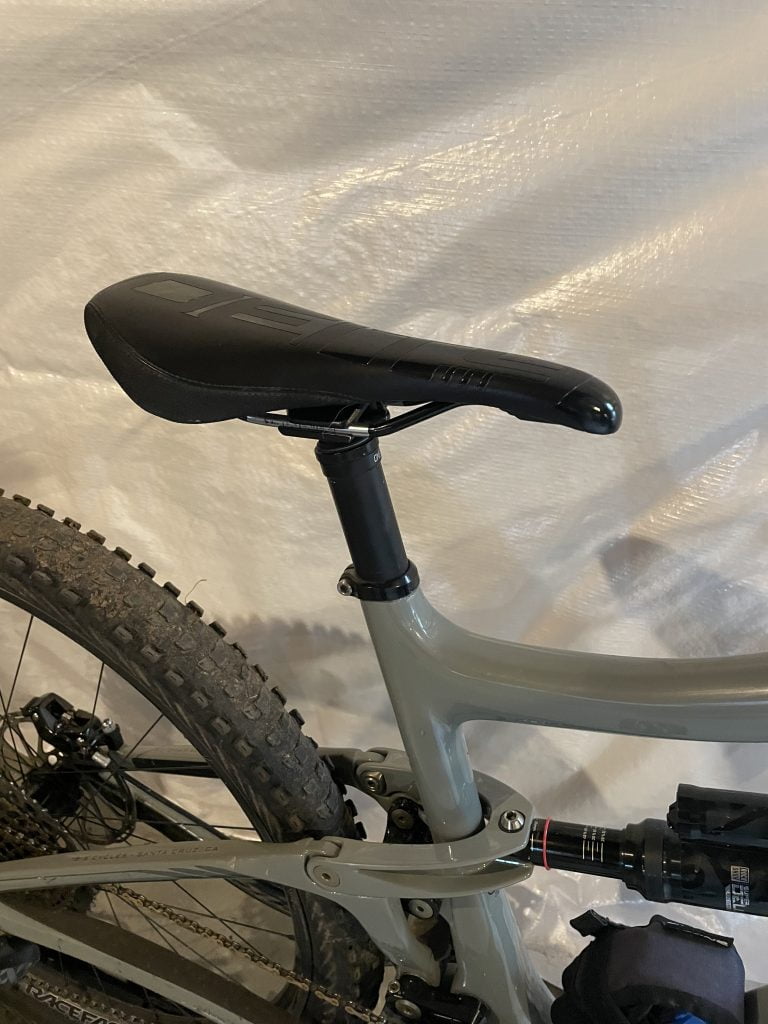
OK, hear me out, it may sound silly but one of the greatest inventions to hit a bike since the wheel is the dropper post (AKA “Dropper”). A Dropper post allows you to adjust your seat up or down with the push of a remote lever on your bars. When I first saw it, I thought…why? When I first rode with a dropper, I immediately understood that it was critical. The most common injury in mountain biking is the dreaded broken collar bone…this typically occurs when you go over the handlebars, and land on an outstretched arm, or your shoulder. It hurts, bad, I know from experience. The best way to avoid going over the bars on gnarly terrain is to get your weight and butt back. It’s difficult to do this when your seat is in the way. But, if you can hit a lever and drop your seat when it gets hairy, it gives you all the confidence in the world. Get a bike with a dropper and use the dropper early and often.
Disc Brakes
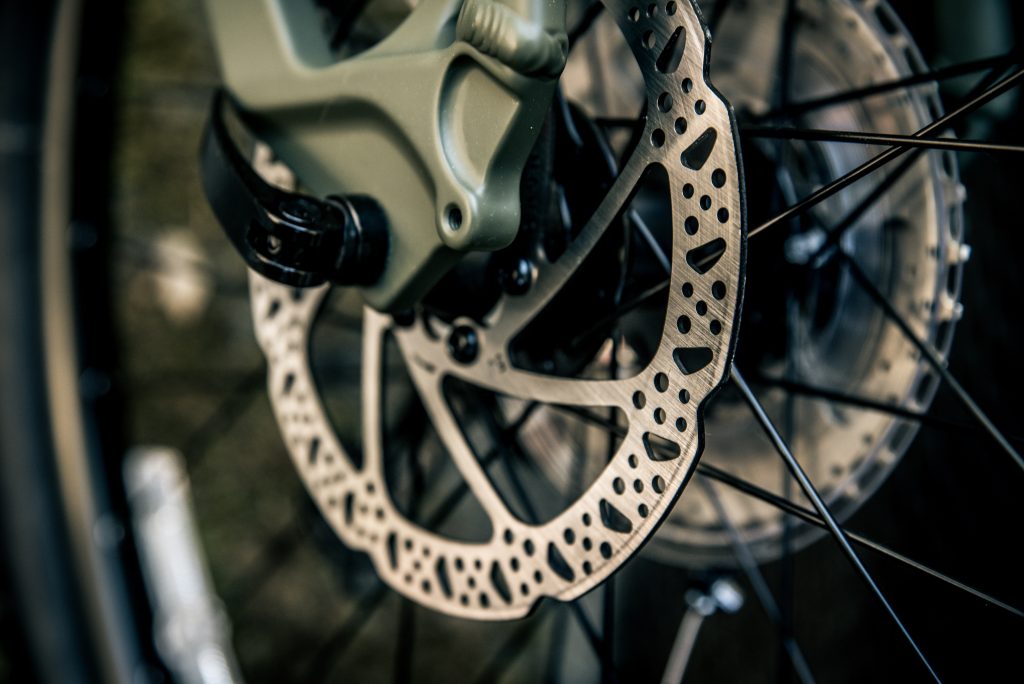
The second big enhancement comes in the form of stopping power…and believe me, flying down the mountain, it’s really nice to be able to stop! Gone are the days of bent pads squeezing your rims. Disc brakes (similar to your car) are a must on a mountain bike. A high quality disc is mounted to the front and rear wheel hub, and then pads of either steel or organic material squeeze the disc to stop…it’s amazing, almost all quality bikes have them now. You need them.
Tubeless Tires
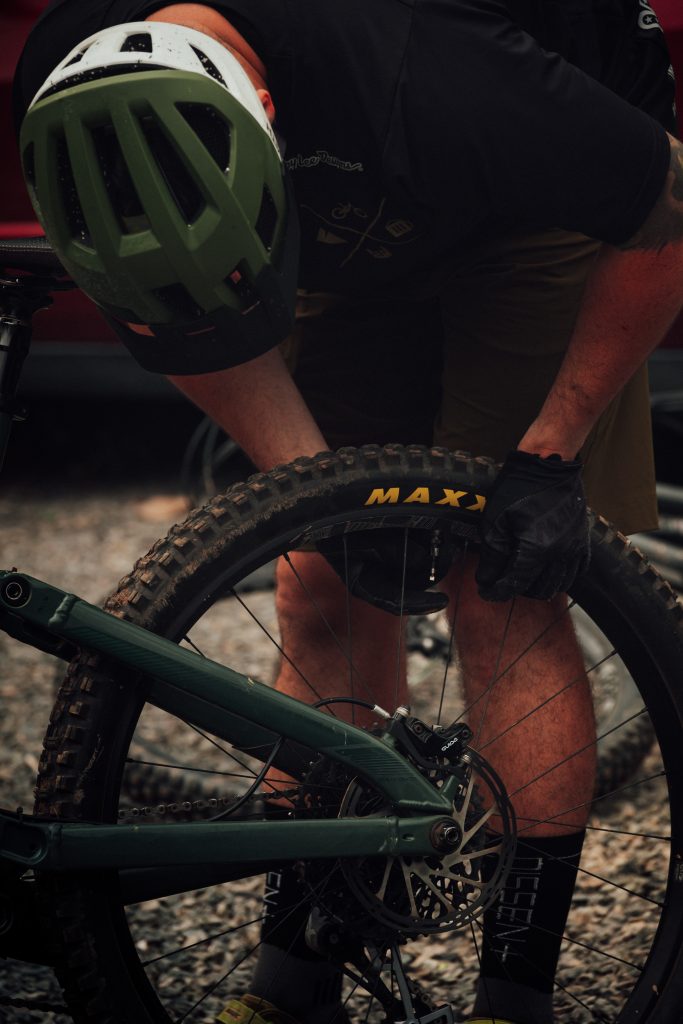
Last, is the tubeless tire. Another game changer for mountain biking. As you can imagine, riding bikes in the mountains used to cause punctures rather frequently. The advent of the tubeless tire has really cut trailside blowouts to a minimum. Don’t get me wrong, there will be an instance where you’ll have to throw a tube in or plug a tire, but these occurrences are far less common than they used to be. Most full setup MTBs and MTB wheelsets come “tubeless ready”. This essentially means the rims have been taped with a special tubeless tape, and you simply pull the included tube out, add some tubeless tire compound (a latex-based liquid that will fill small tears and holes in the tire as the occur), pump the tire to the desired PSI (which can be much lower than with a tube), and stick that extra tube in your pack for the moment your tire receives a puncture that the fluid cannot fill. Now you can ride with confidence of less punctures, and run a lower PSI to help with grip.
To Clip or Not to Clip
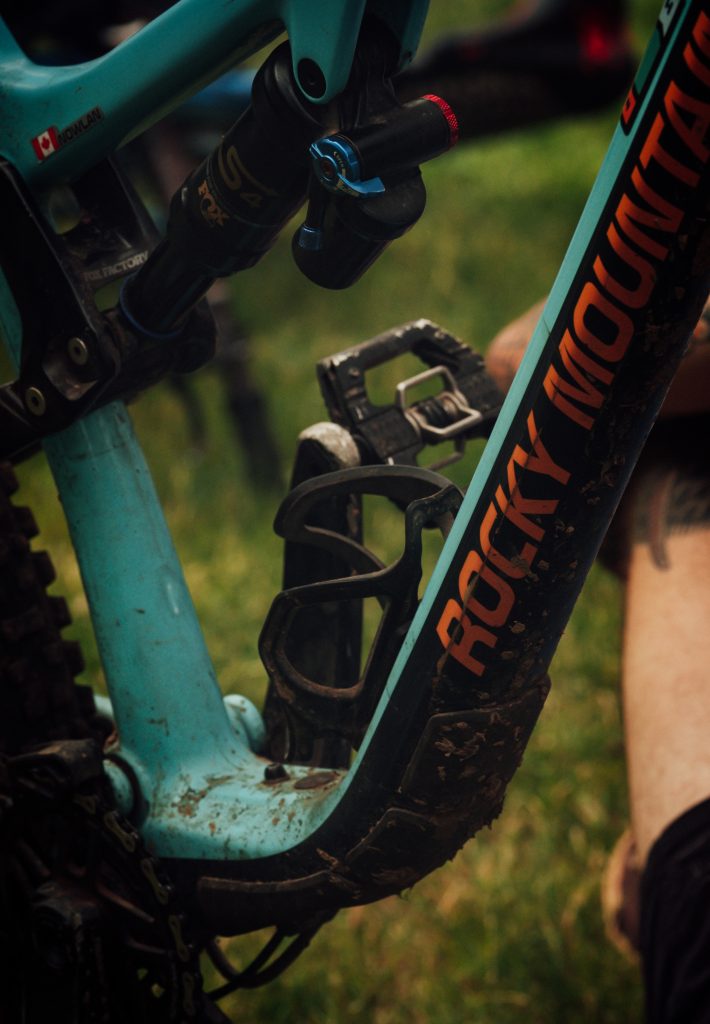
The last topic to touch on is a big one, and it’s personal preference, so you just need to figure it out for yourself. That said, I have a little guidance to provide. MTBs typically have two types of bike pedals. Clipless-which as I previously alluded to actually means you clip-in, and are sometimes just referred to as “Clips”, and Flat-Pedals, or “flats”.
Flats
Flats are what you would think of in a bike pedal, they are flat pedals, frequently with little pins added for grip, but you are not actually clipped into the pedal. Many riders wear MTB-specific flat shoes that have a sticky rubber compound similar to climbing rubber (Climbing shoe mfg 5-10 actually makes excellent MTB shoes www.adidas.com/us/five_ten-mountain_biking-shoes).
Clipless
Clipless pedals actually have a special shoe, and a step-in mechanism to affix the shoe to the pedal. On most clipless designs a simple move of the heel a certain degree outward and the shoes disengage. There are many different types and styles, and you need to ensure that the shoe you select fits the pedal you select. Any LBS can help. Before you make the investment and jump into clips I would suggest trying them out first.
Why I Ride Flats
I can tell you I dove right into clipless pedals at a friend’s recommendation and it held me back. Being clipped into your MTB means there are things you are just not willing to do or try because of the consequences. When riding flats, you have much more confidence in your ability to recover. When I gave flats a try, my riding progressed rapidly when compared to my time clipped-in. To me, Clipless pedals are another experienced rider’s tool. While they provide pedaling efficiency, they can also encourage poor form, and hold you back. Choose wisely.
Get out and Ride!
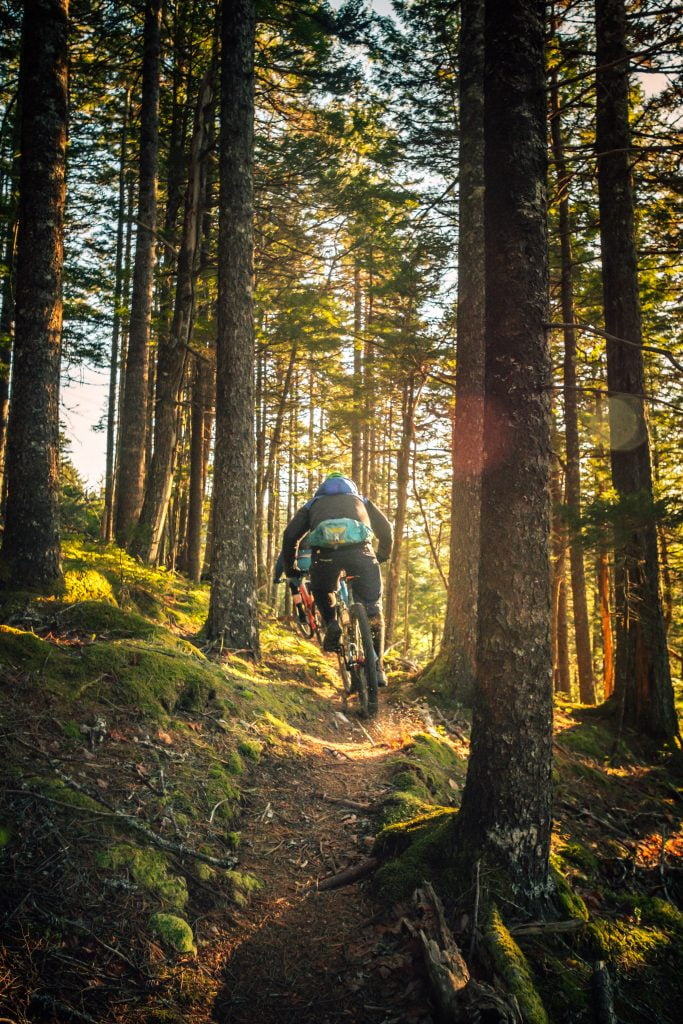
Armed with all this new knowledge, hit up your local bike shop and have a conversation. Most LBS around the US have a rental/demo program so you can get out and try different bikes and see how you like the sport. If you’re heading to Keystone from out of town, I highly recommend you reserve a bike ahead of time. Keystone has Christy Sports right in the heart of River Run Village offering some phenomenal demo bikes from high-end companies like Pivot. There’s also Norski, and Keystone Sports.
There are a lot of bike shops in Keystone and Summit County in general, but they do book up. Having a reservation will ensure your trip isn’t squashed due to unavailability. Next, talk to the CO bike shop, figure out where they suggest you ride based on your ability and preferences. Talk to everybody. Most locals, whether they MTB or not will have some input on some ideal singletrack for you to ride.
Keystone’s High Altitude
Keep in mind that you’re at Keystone’s high altitude, what you can do at home, you likely can’t do here. Maybe start with a quick out and back, allow yourself extra time for breaks, include extra energy and water in your pack. And always tell someone where you’re going. The high-country in Colorado can be unforgiving, so be safe, and be smart.
In one of our next updates I’ll maybe include my MTB and Snowboarding pack list to give you ideas on what sort of items you need to keep in your pack to stay safe. Oh, and when you get back from huffing and puffing in the high-altitude, it’s a great idea to kick back with a Bluebird Oxygen Concentrator and recharge!


