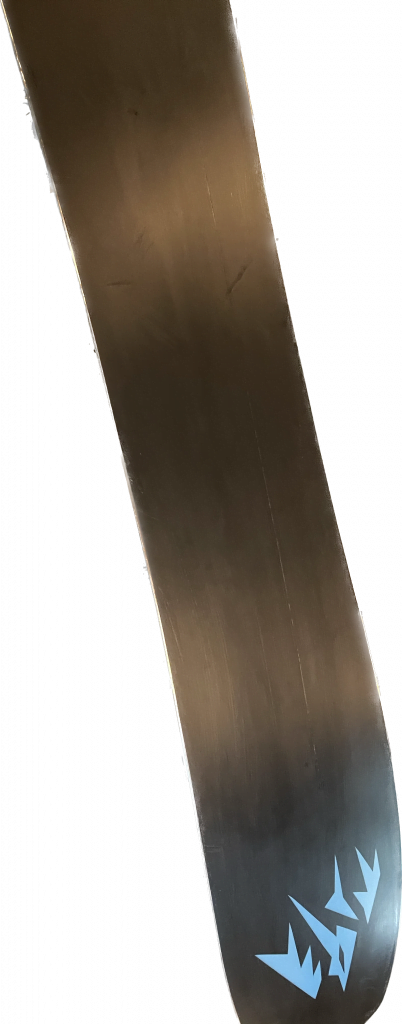
The season is upon us, and if you haven’t had an opportunity to hit the slopes yet, hopefully you have plans to do so soon. One of my favorite things to do to get ready for the season is pull out my boards, inspect, and tune them. Here’s a home tune tutorial to help get you stoked. A solid tune will ensure your first outing of the year is what you’ve been dreaming of all summer.
Summerizing/Winterizing
An important, and often overlooked, task to close out the season is “summerizing” your skis or board. In the most basic form, it’s an end-of-season tune (clean, base-sand, p-tex, edges, and heavy wax (without a scrape). The most important aspect of the summer tune is leaving the wax on the base and covering the edges when you melt it. The extra wax will protect your edges from rust and keep your base safe from humidity and moisture.
I start with “summarizing” because if you did it right, your “winterizing” session should be as simple as re-heating the wax (I reheat to make it easier, some don’t), scraping, and buffing…If you weren’t a good little girl or boy at the end of the season, and you now find your skis unwaxed, rusted, or worse…no worries, we’re going to give you a step-by-step.
First, when in doubt, hit-up your local shop for the more serious tasks (especially when it comes to ski bindings). If you’re not an expert, don’t pretend. There are few things more dangerous than coming out of your skis at the wrong time, or not coming out at all. Your local shop can conduct a “Vermont” test to ensure your bindings are releasing correctly, and/or adjust your DIN if things have changed for you (like weight/age/skier type). For Breck we recommend Alpine Sports (https://alpinesportsrental.com/), Vail/BC try Venture Sports (https://avonventuresports.com/).
What you’ll need
- Rubber Bands (for ski brakes, this will keep them out of the way)
- Rag/Cloth for cleaning & drying
- Base Cleaner
- Sanding Sponge/Block (I have an assortment of grit depending on the kind of a haircut my base really needs) …just be careful not to overdue it, and make sure you sand evenly throughout the entire base.
- P-tex (this one is for the experienced) if you know how to use black and clear p-tex without dropping carbon into your beautiful base great, if not, leave this one to the shop. P-tex fills the small nicks and cuts in your base but it’s technique sensitive. Ptex will not work on the deep core-shots or hunks on the edge (you’ll need a patch or weld for those). Here’s some common ptex candles you can buy online: bit.ly/3V0v9D7
- Metal Scraper specifically if you’re doing p-tex…plastic scaper just doesn’t cut it
- Plastic Scraper for scraping wax etc. Big wide ones for snowboards definitely save time. Smaller are just fine for skis.
- Wax pick your poison, a good all-season wax is my preference
- Wax Iron-can be an old iron, new iron, or ski-specific one, just be sure you don’t need it to iron clothes after…it needs to be dedicated to tunes
- File to detune contact points and/or sharpen edges. I’d suggest a guide to sharpen edges, this ensures the proper angle and that you don’t round your edges out. Be sure to detune the contact points.
- Scotch-Brite Pad (I use this for buffing and in place of a gummy stone to debur). I don’t mess with the nylon brush either. After scraping, a quick buff with a scotch-bright pad is normally all you need!
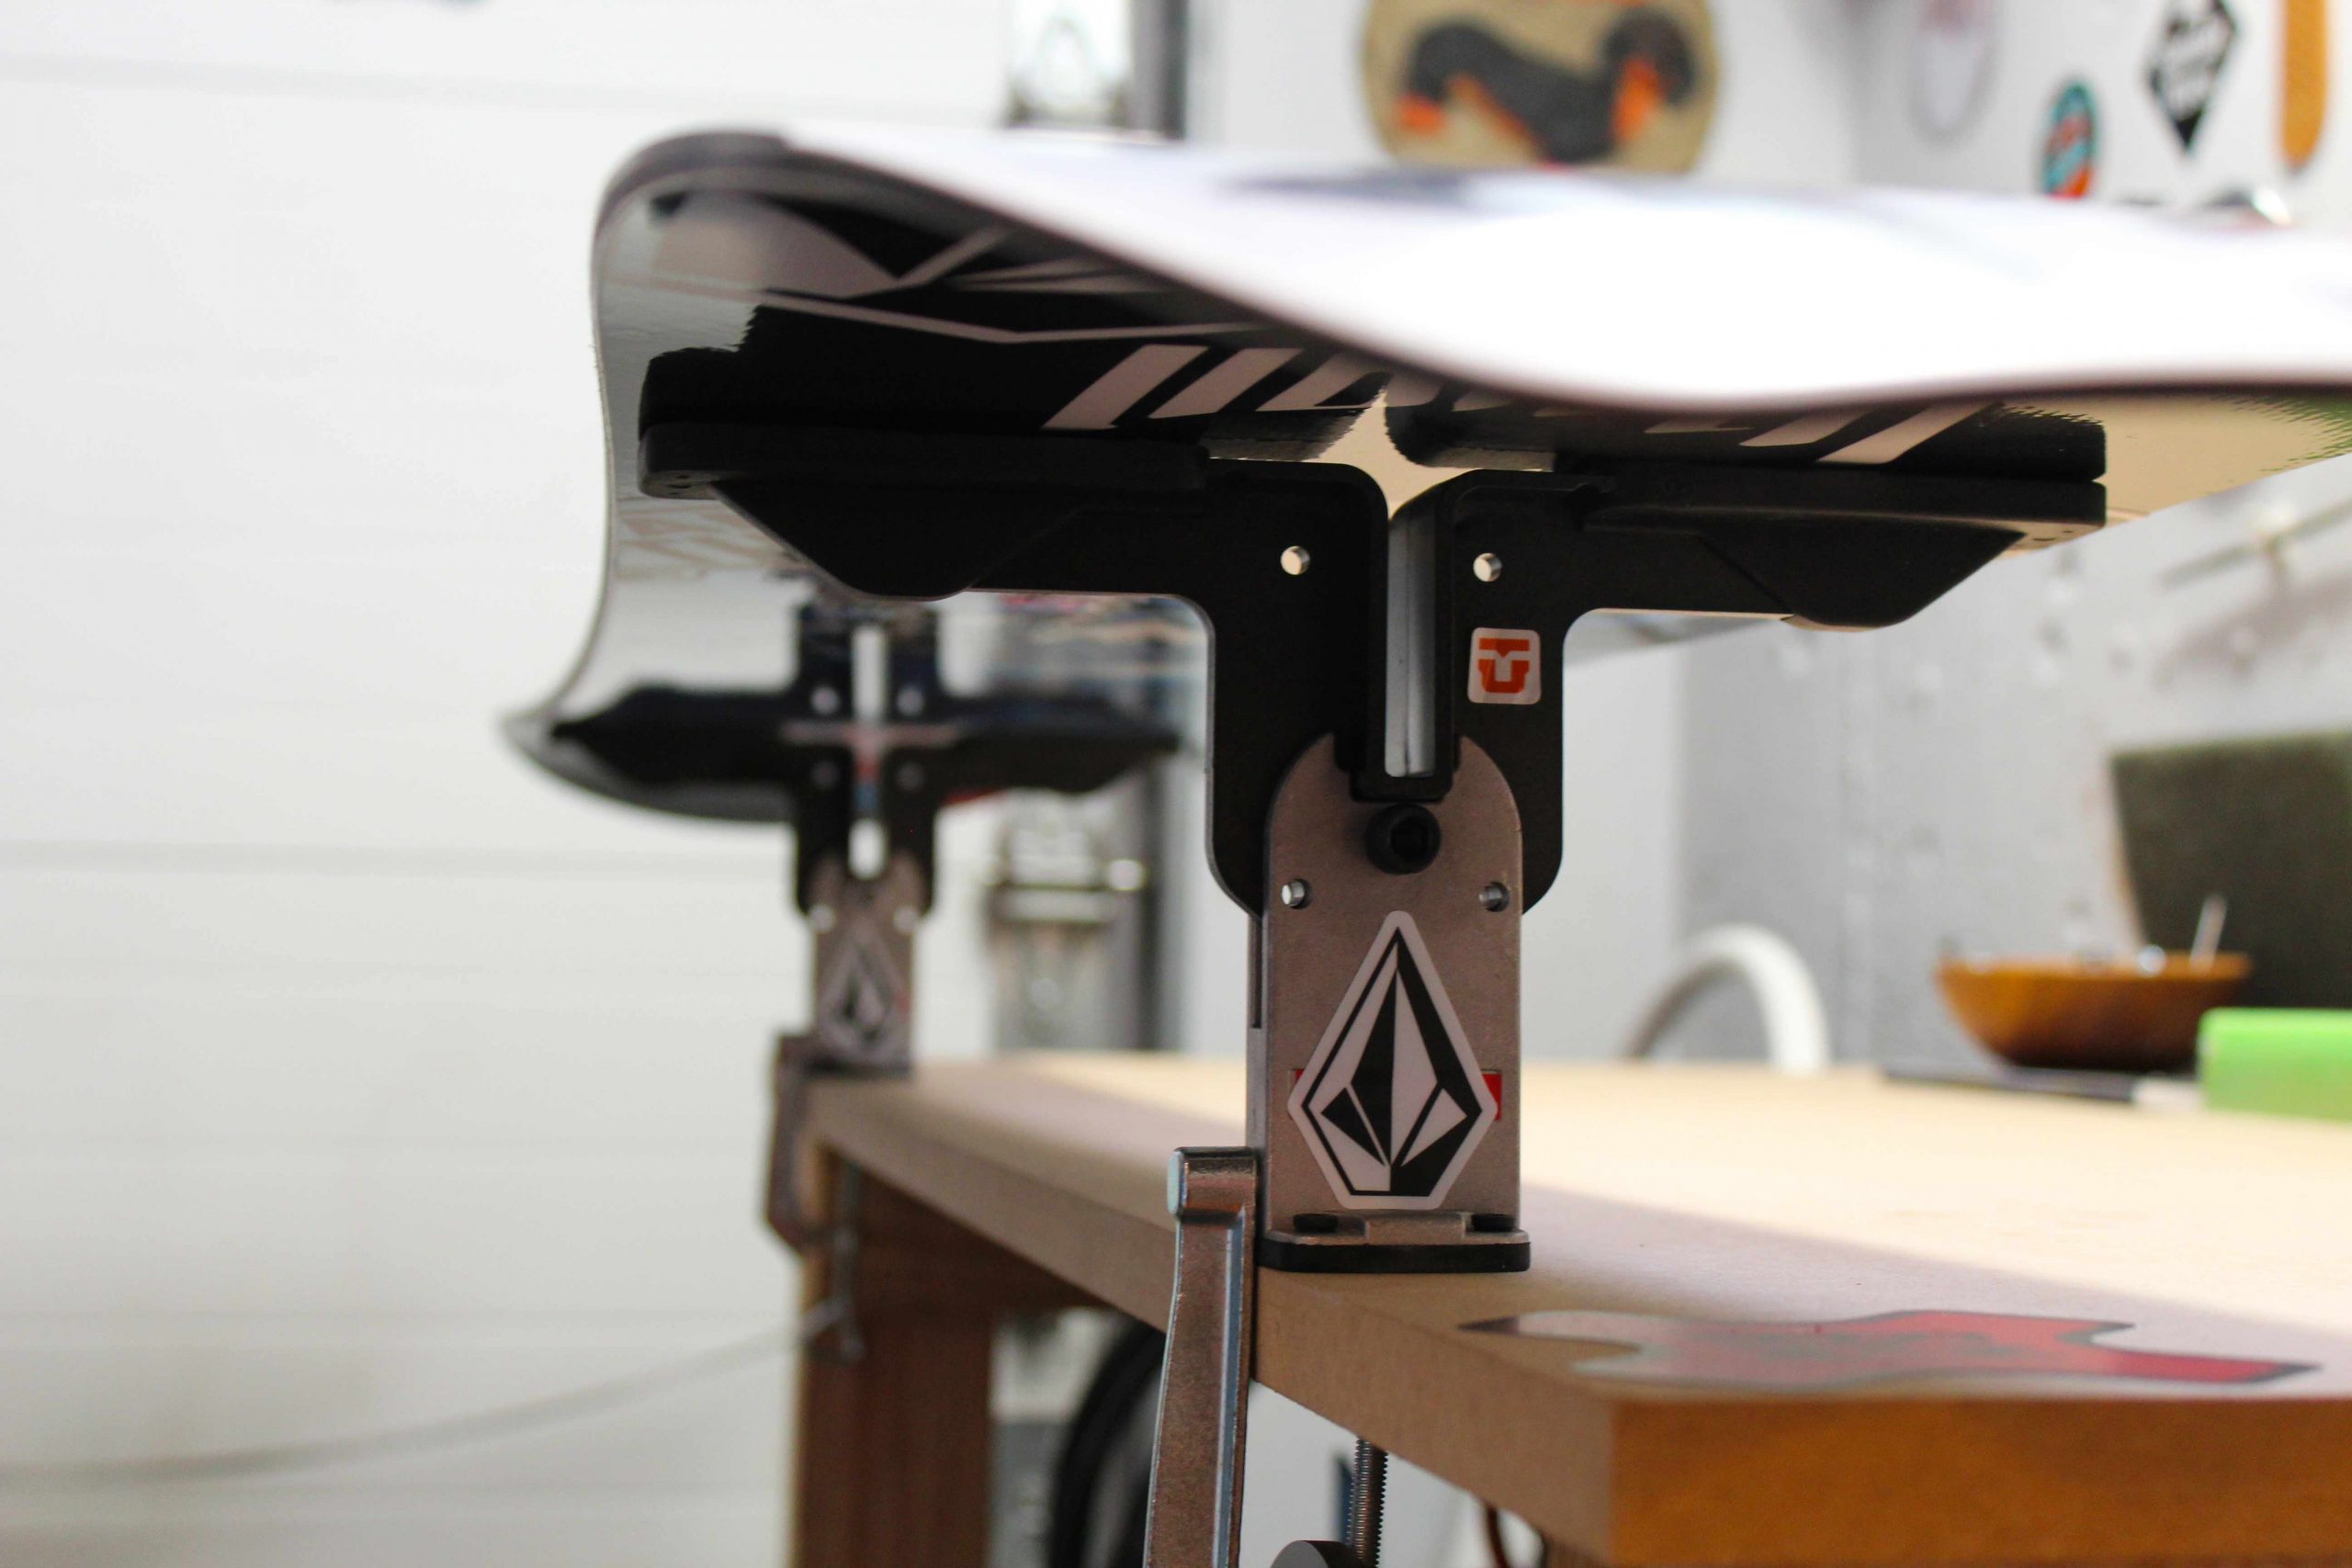
- Ski or Snowboard Vice Stack some books, or get the real deal, just make sure you can work on your ride safely. amzn.to/3Yv1K6Q
- Kit? If you don’t want to piece everything together Demon and Swix make an excellent kit with everything from above and more: bit.ly/3jdLHdD
The Tune
Prepare your plank(s)
If you’re a skier, start by wrapping those rubber bands from brake to brake up over the binding (use 3 or 4 or a big thick one as it’ll take quite a bit of tension). This will get your brakes out of the way so you can work on the base unimpeded. If you’re a boarder like me, I like to fold down my high-backs and ratchet my buckles over them to ensure they aren’t in the way and my board lays flat on the stand.
Inspect and clean
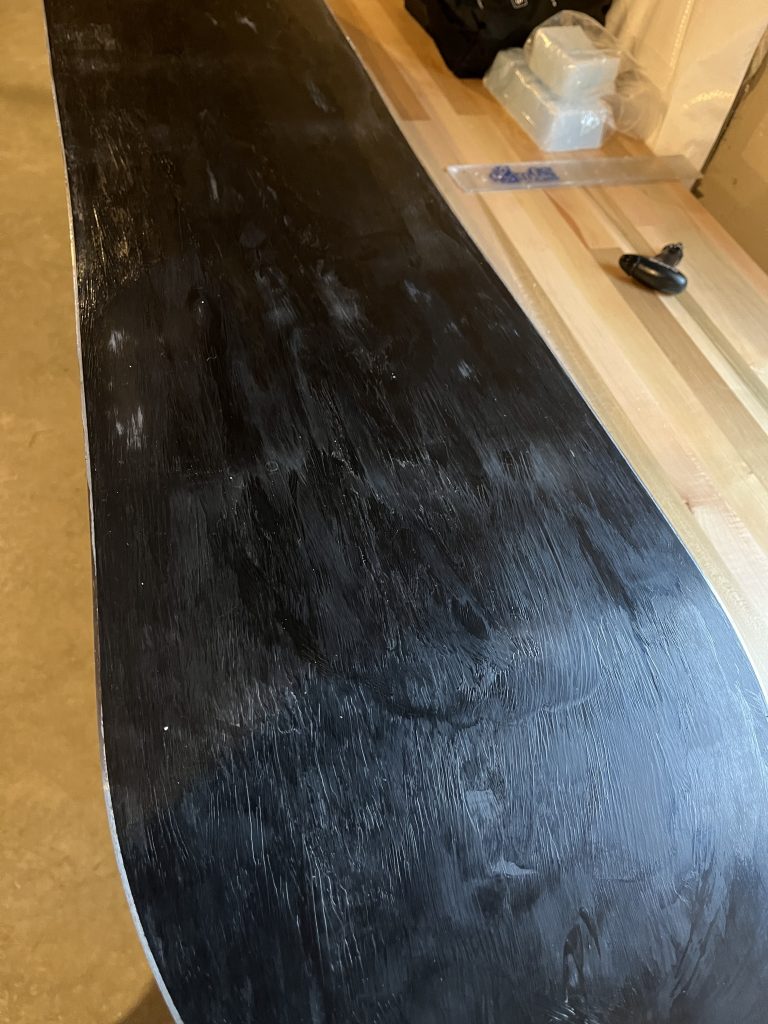
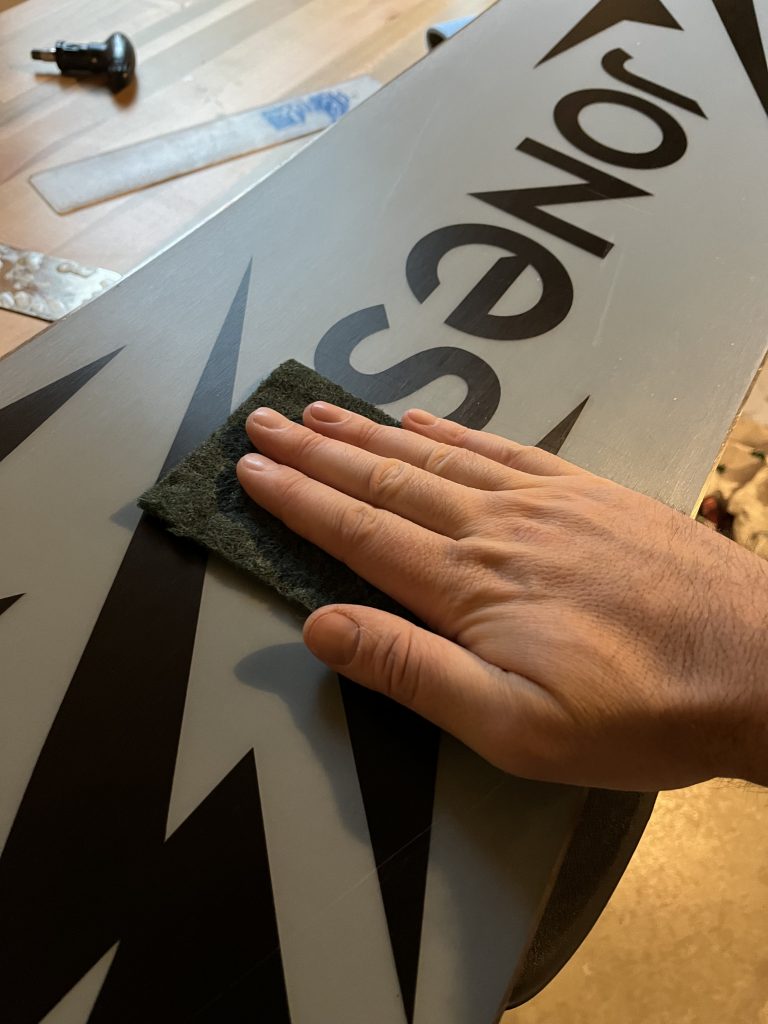
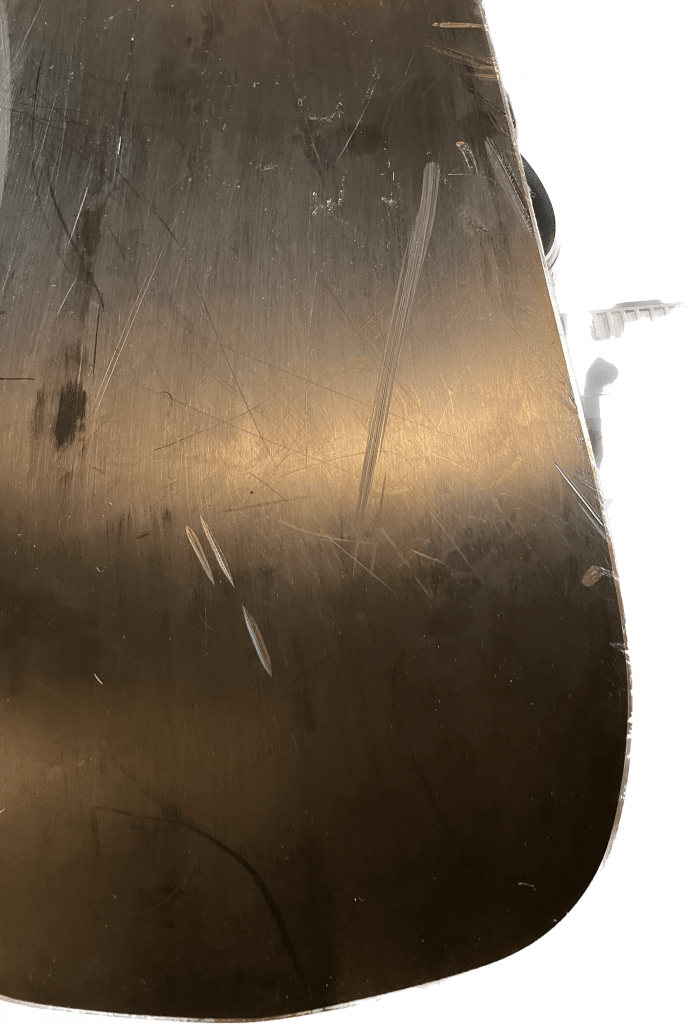
Give everything a good once-over visually, and then take a moist cloth to the bindings and ski/board. Remove all the dirt and debris and then dry with a clean cloth. Use base cleaner and rub the base down as well (get in the habit of working tip-to-tail in everything you do BTW). Take note of any nicks or burrs in the edges and/or base that you might want to address. Give a quick rub with a sanding block to ensure the board is even and you’re not obsessing over small scrapes that could be handled with a light sanding.
P-tex
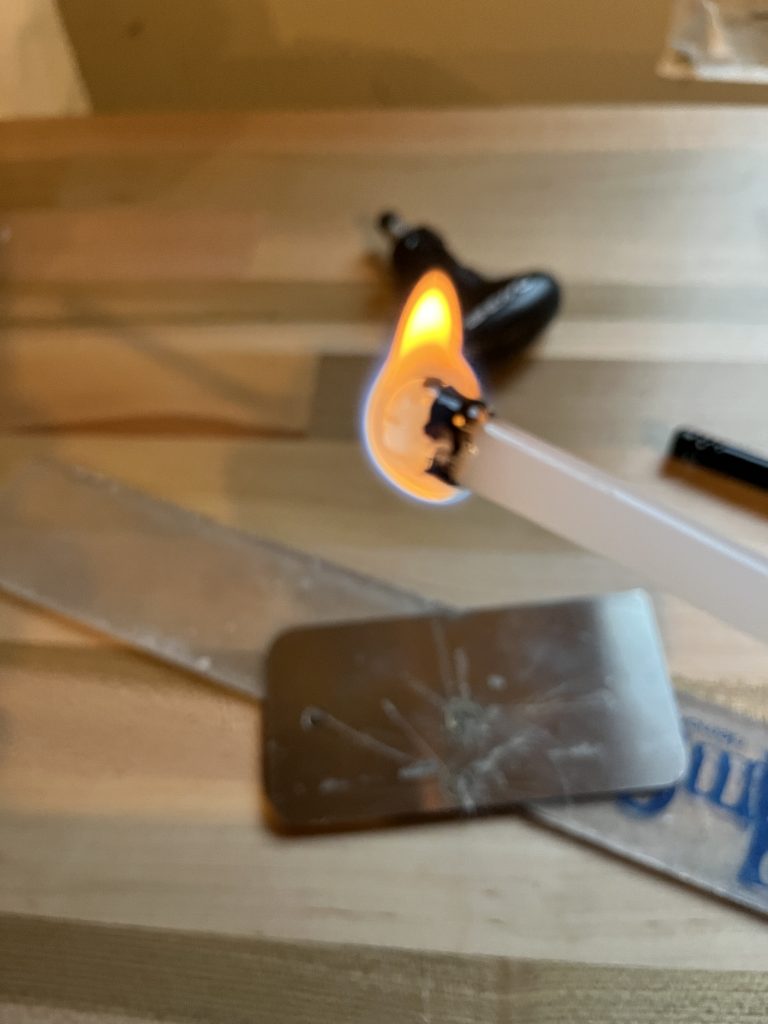
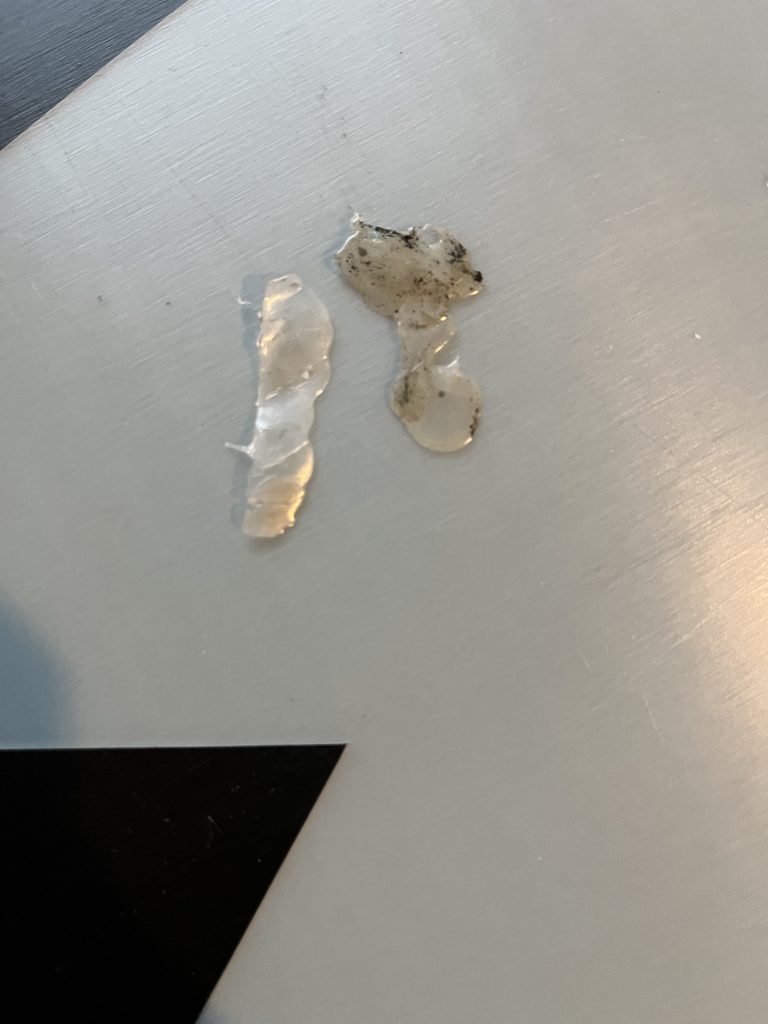
As previously stated, if you don’t have experience with p-tex candles (particularly if you have a clear or multi-colored base) you may want to have a shop handle this. If you want to watch a YouTube video and give it a go, I’d suggest you start on an inconspicuous spot on the base. Bottom line is no sudden movements, slowly spin the candles to keep carbon from building up, and only drop it in once you’re confident the carbon (black/brown buildup) has been removed. You can remove the carbon by slowly spinning and touching the candle on a metal scraper. P-tex can, and will, fill most nicks and scrapes unless they are core-shots or hunks along the edge. I’ve done some pretty amazing repair jobs with this stuff.
Scrape the P-tex
Once the p-tex has been applied and cooled you’ll need to scrape it off. For skis, it’s sometimes easiest to use a wave rasp (a really coarse file), and then finish it off with a metal scraper. For snowboards, it’s tougher to use a wave rasp because of the width of the board, I’d suggest just using a metal scraper for all of the board. Remember, tip-to-tail when scraping!
Edges
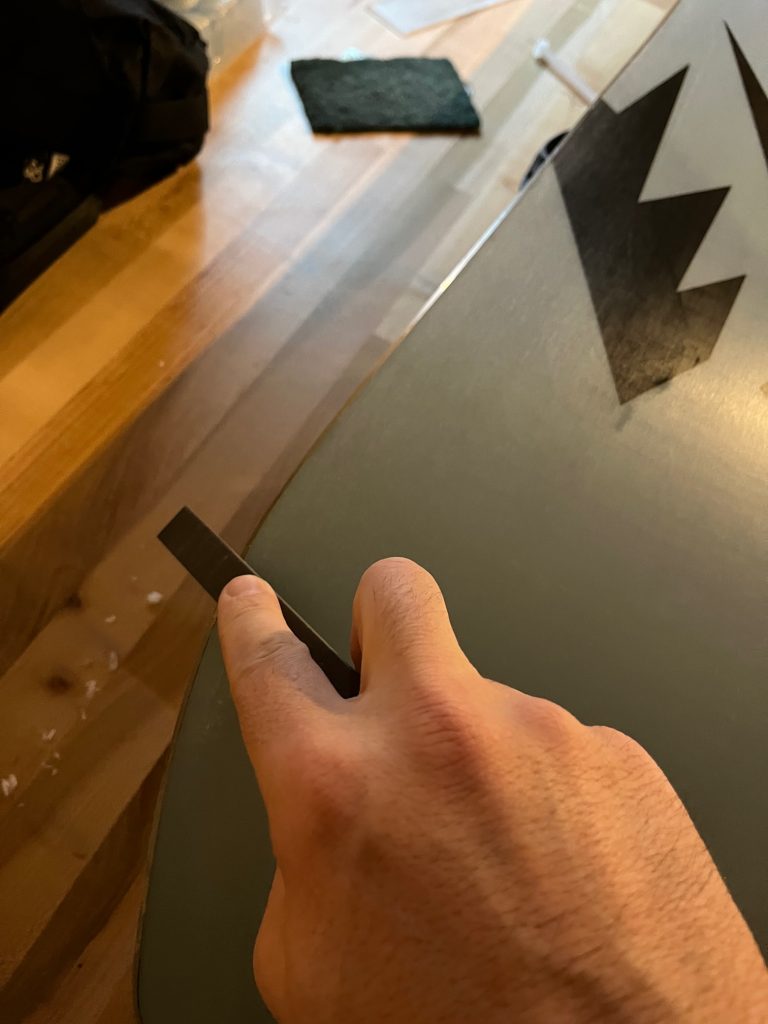

If you feel your edges need sharpening, hit them up, use a guide, and work tip to tail. Follow manufacturer specs and keep it flat as to not damage. When you’re done, use the file to detune the contact points (contact points are where your edges would touch the table if set on the side of the ski). Manufacturers have specific recs for how much to detune, I eyeball it, and do about a 2-3” section just to ensure they aren’t catching when transitioning from edge to edge. Some use a gummy stone to debur, you can just rub them with the scotch bright as well. Just get the burs off.
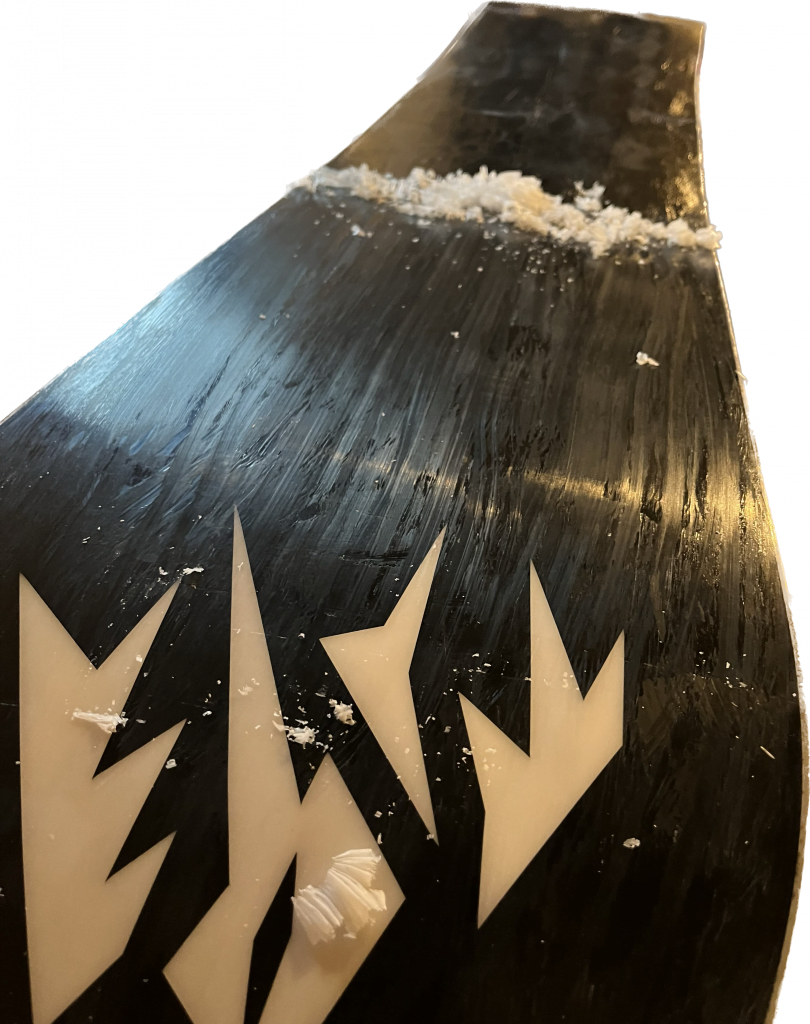
Final foam sand
Prior to administering the wax, I like to run a foam sander to ensure I’ve got all the excess Ptex and additional small nicks are minimized. Run the Scotch-Brite pad after the sander to catch any debris, and you’re ready for the wax.
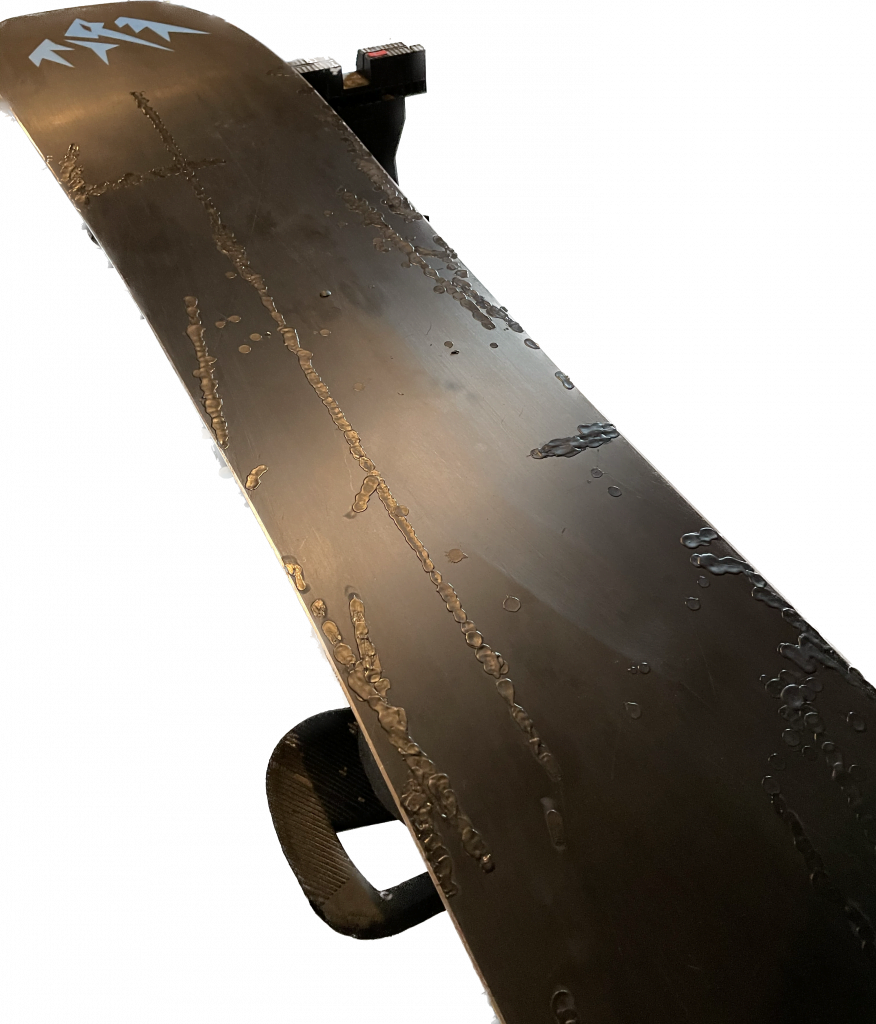
Wax
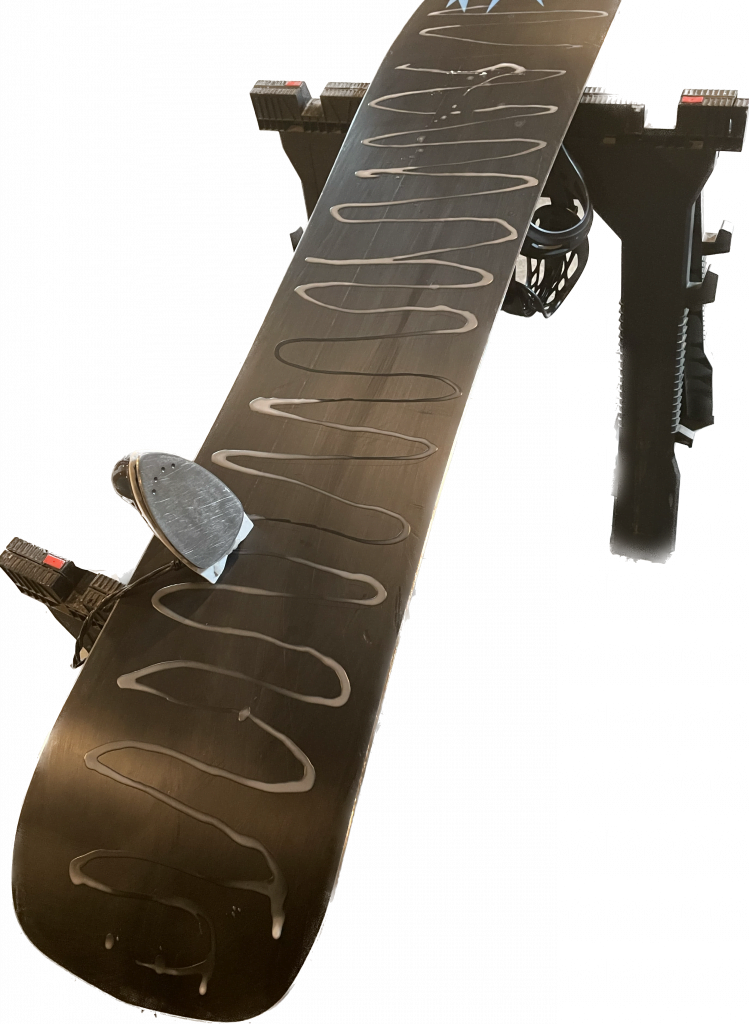
Plug in your iron and put it on medium heat. Most will tell you hot enough to melt the wax but not hot enough to smoke. To me that’s vague, and there’s all sorts of arguments on how hot or cold your iron should be. Follow your wax manufacturers recommendation or don’t…bottom line, too hot can damage your base, and too cold it’s not sufficiently heating the base to absorb the wax. My personal iron is set around 260-280 degrees Fahrenheit depending on the wax I’m using. Over 300 Fahrenheit and you risk damaging your base, so be careful. I error toward cooler temps on boards as you tend to spend more time applying which heats up the core of the board. Iron on the wax in a smooth even coat and do your best to keep the iron moving.
Scrape it
Once the wax has cooled use the plastic scraper to remove the wax, again work tip to tail. You want to remove all the wax, so put your back into it. Ensure all wax that might have dripped onto the edges has been removed as well. If you can take a fingernail and pull up solid amounts of wax on the base, you haven’t done a good enough job scraping. Once done scraping, grab your Scotch-Brite pad and buff ‘er up.
Enjoy

Smile, consume beverage of your choice, you’re ready to rip!